Inspection FAQ
Credit or repairs. What buyers are asking for after the report
Compare a repair credit, completed repairs, and a price cut after a home inspection, with loan limits and how to get terms in writing.
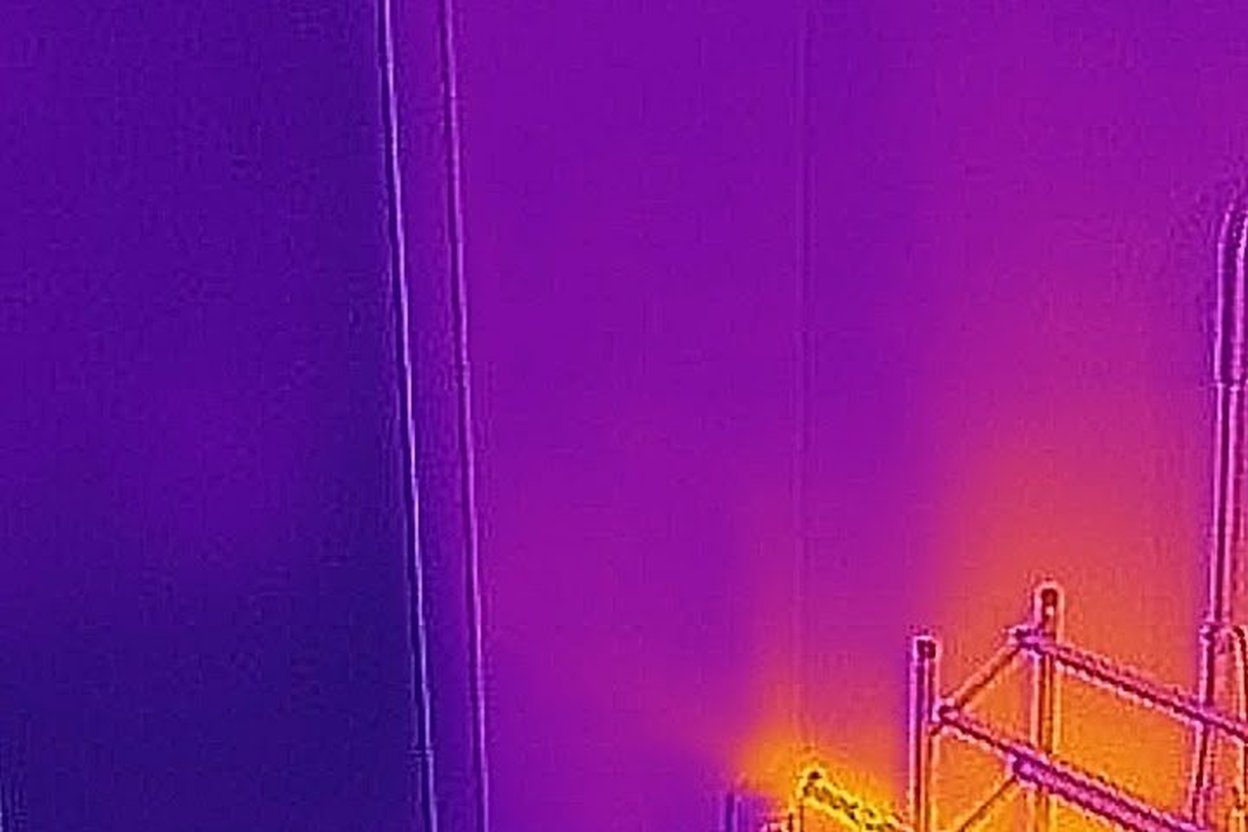
A thermal camera flags possible moisture, missing insulation, air leaks and hot wiring. Learn what a scan can and can't confirm, and what it costs.
You're reading through an inspection report and stop at a purple-and-yellow picture of a ceiling with a dark patch circled in red. The caption says "thermal anomaly." Is it a leak, a gap in the insulation, or nothing at all? A thermal camera can point to possible moisture, missing insulation, air leaks, overheating wiring and worn window and door seals. It can't confirm any of them by itself. Here is what the scan can show, why fall is a good time to do one, what it costs and how to read the findings.
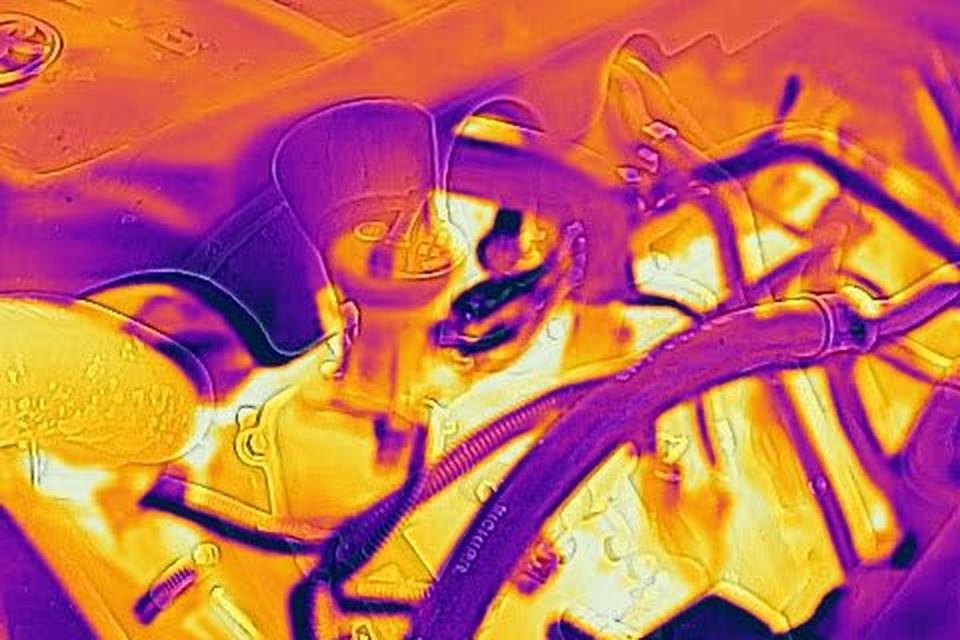
A thermal (infrared) camera measures surface temperature and shows it as color. That's all it measures. It can't see water, wires or rot behind drywall. It shows that one patch of wall is cooler or warmer than the wall around it, and a trained person works out why.
That makes it a screening tool. InterNACHI, the inspector trade group, says infrared has limits and should not replace other inspection tools. HomeAdvisor and InterNACHI both list the same main targets:
Treat every colored blob as a clue. A moisture meter, a closer look or a licensed tradesperson turns the clue into a finding. Moisture shows this most clearly, because it causes the most expensive mistakes.
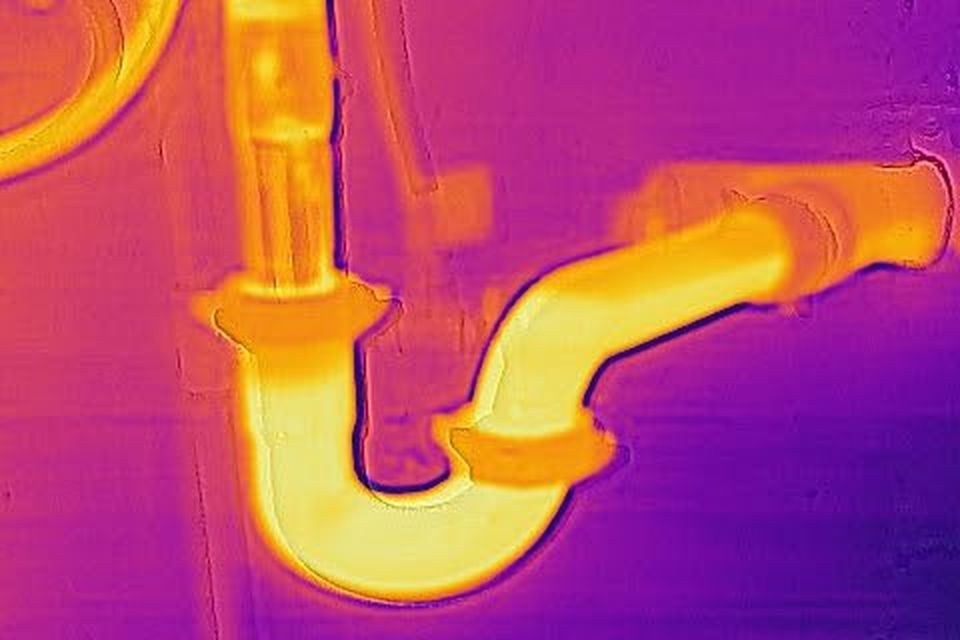
Wet materials change temperature differently from dry ones. FLIR, a major camera maker, explains that water shows up through evaporation (which cools a surface), capacitance (wet material holds heat longer) or conduction (it moves heat faster). On camera, a damp spot on drywall usually looks cooler than the dry wall around it, often in an irregular shape that spreads out from the source.
These differences are small, so the camera matters. FLIR says entry-level cameras pick up about a 1.5°C difference on a painted wall, while expert models go as low as 0.02°C. For moisture work it recommends a sensitivity of about 30 mK (0.03°C) and says the job "will require a higher-performance camera." A cheap phone attachment can miss a slow leak completely.
A moisture-like pattern still doesn't prove water is there. Drafts, recessed lights, ductwork and a framing member can all leave a cool patch. FLIR's advice is direct: "always use a moisture meter to confirm." Weather and indoor humidity can also change how a wet area looks on the day of the scan.
Common places a scan flags possible moisture:
If the report shows a cool spot here but lists no meter reading, ask for one before you call it a leak or rule it out.
This is where thermal cameras earn their place, and fall is a good season for it. The camera needs a temperature difference between inside and outside to show where heat escapes. FLIR recommends at least 10°C (18°F) between indoors and outdoors. A heated house on a cold October or November morning usually has that. A mild afternoon often doesn't.
Timing within the day matters too. FLIR suggests starting in the morning, before the sun warms the outside walls and hides the pattern.
What shows up:
The U.S. Department of Energy's guide to home energy assessments names infrared scans and blower door tests as the most common ways to find air leaks. The two work well together. A blower door depressurizes the house, which pulls outside air through every gap and makes leaks show up much more clearly on camera. If you're sealing drafts before Thanksgiving guests arrive, an energy audit that pairs the two gives you a short, specific to-do list.
The camera reads heat in both directions. A breaker, wire connection or outlet that shows up much warmer than its neighbors can point to a loose connection or an overloaded circuit. FLIR says scanning the breaker box, outlets and other equipment can help find loose power connections. On the heating and cooling side, it can show leaking ducts, uneven radiant floor loops or registers that never warm up.
A hot spot doesn't always mean a fault. FLIR warns that loaded electrical equipment runs warm, so "just noticing a hot spot might not indicate a problem." The person reading the image has to know what normal operating temperatures look like.
Scanning a panel safely means removing the cover while the circuits are live, so leave it to a qualified inspector or a licensed electrician. Don't take the cover off yourself to get a better picture. If a report flags a hot breaker or connection, have a licensed electrician check it before closing or before the heating season loads the circuits up.
The same image can mean different things depending on the conditions when it was taken. Scans are least reliable when:
Home inspection cameras are typically accurate to about ±2%, according to FLIR, which also warns that misreading an image can lead to costly demolition that turns out to be unnecessary. Before anyone opens a wall, make sure a meter or a second method backs up the image.
HomeAdvisor puts the average cost of a thermal imaging inspection at about $400. Most people pay $200 to $500, with a full range of $100 to $700. Angi's estimates are similar. Local prices vary.
How it's billed:
A typical scan takes 30 minutes to 1.5 hours. Homes over 4,000 square feet can take more than two hours and cost more.
Before you book, ask:
A good report labels each finding as "possible" or "confirmed" and says how it was confirmed. If a scan points to a real problem, the next call goes to the right trade: a roofer for a ceiling leak below the roof, a plumber for a wet wall by a bathroom, a licensed electrician for a hot breaker. If repeated moisture has damaged framing, call a structural engineer.
Compare a repair credit, completed repairs, and a price cut after a home inspection, with loan limits and how to get terms in writing.
Learn why an inspection report is not a repair list, how to sort findings into repair, monitor, and evaluate, and make a focused request.
An October inspection runs the heat only briefly. Learn what it misses, what to check in your first cold week, and when to call an HVAC pro.