Exterior
How Mice Get In Every Fall: A Homeowner's Check for Entry Points
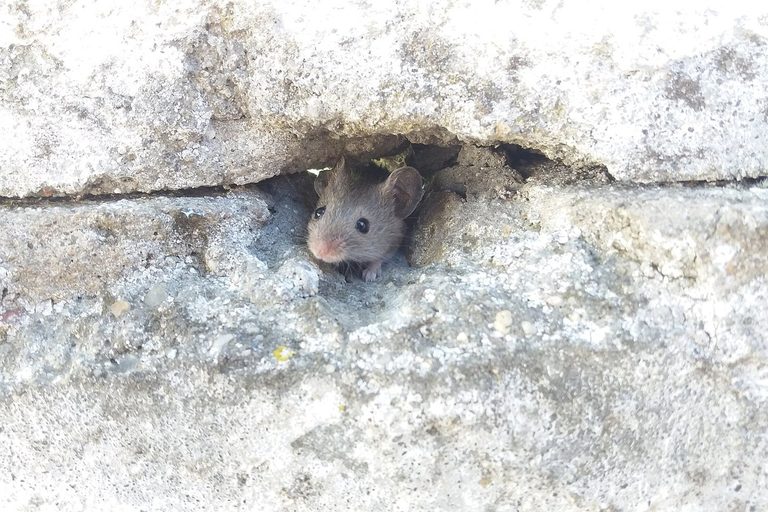
Mice need a gap about 1/4 inch wide. Here's where to look outside and inside, what to seal each gap with, and how to clean up droppings safely.
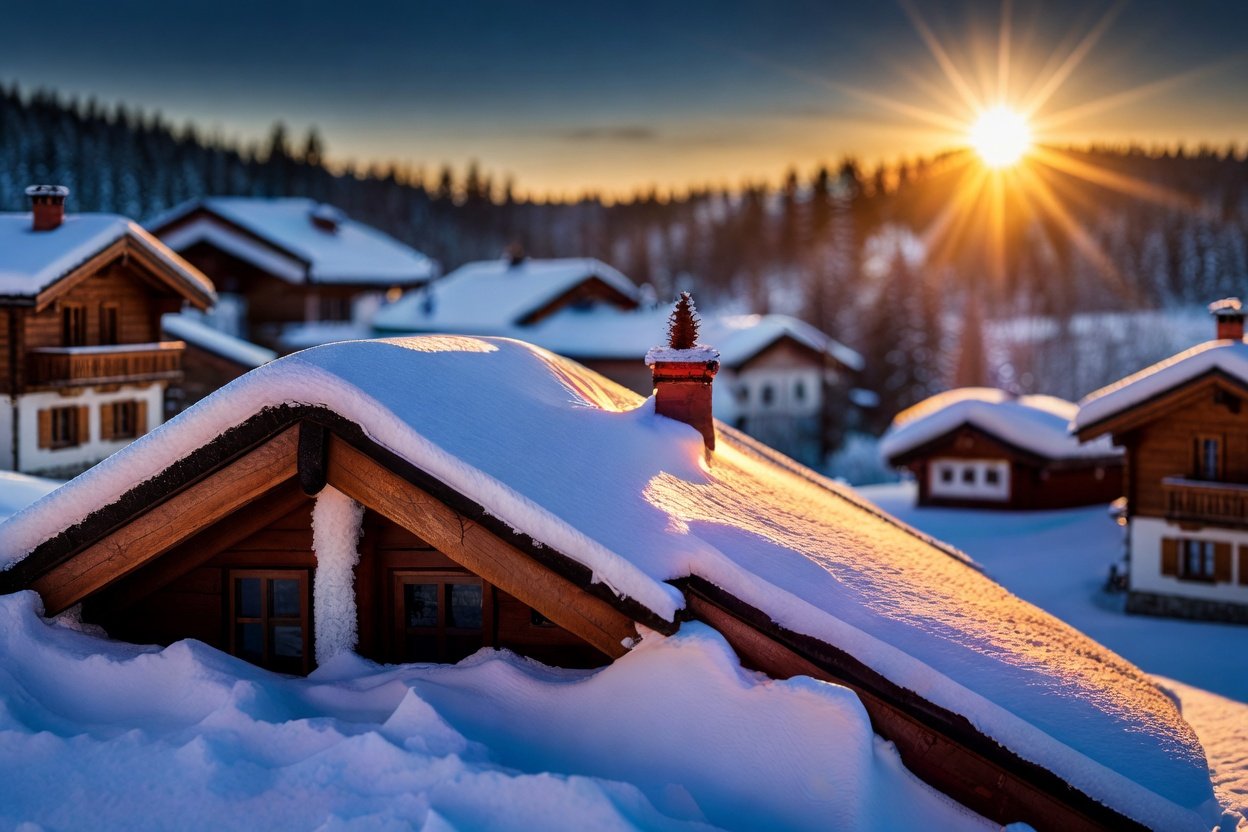
Ensure a safe and thorough winter roof inspection in snowy conditions. Discover expert tips and techniques for assessing your roof's condition.
You can inspect a snow-covered roof without ever setting foot on it. Look at it from the ground, read the way the snow is melting, pull the bottom few feet off with a roof rake, and then go into the attic, where most winter roof problems show up first. Climbing onto a snowy roof is the one step to skip: snow hides the edges, the skylights and the ice underneath.
Falls are the real risk here. A University of Massachusetts trauma study of 129 people hurt doing their own roof and tree work found about 70% were falls from height, and nearly half of those injured had head injuries (Psoinos et al., 2012). OSHA’s guidance for workers who clear roofs says the same thing: use methods that keep people off the roof whenever possible, because snow can hide skylights that people fall through (OSHA hazard alert).
Snow is a free heat map. Go out the morning after a cold, calm snowfall, before the sun has worked on it, and walk all the way around the house. Binoculars help.
Take photos from the same spots each time. Comparing them over a few storms tells you more than any single look.
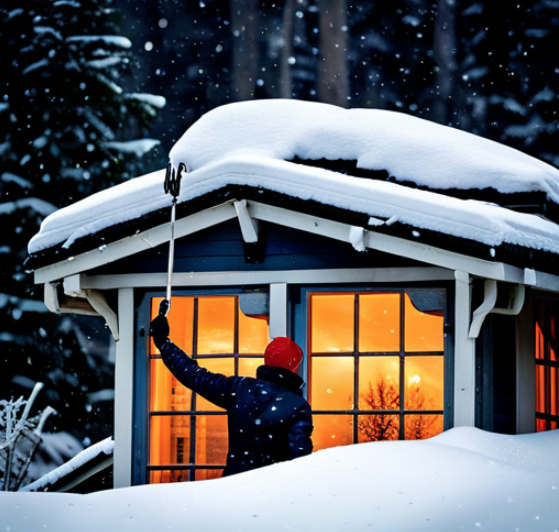
A roof rake is a wide, flat blade on a telescoping pole that you work from the ground. A 21-foot telescoping model like the Snow Joe Roofer Joe runs about $50 to $60 at big-box and hardware stores (as of October 2026). It reaches the first-floor eaves on most houses; it won’t reach the ridge of a two-story roof, and it doesn’t need to.
Clearing the bottom few feet does two jobs. It lets you see the shingles, drip edge and gutters at the eave, where most winter damage starts. It also takes away the snow that would melt and refreeze into an ice dam (University of Minnesota Extension).
How to do it without hurting yourself or the shingles, based on Maine Emergency Management Agency guidance:
Some old advice says to warm the attic so snow melts off and you can see the roof. That is how ice dams are made. Snow melts over the warm part of the roof, the water runs down to the cold overhang, and it freezes there. The ice builds into a dam, water backs up behind it, and it works under the shingles into your ceilings and walls (University of Minnesota Extension).
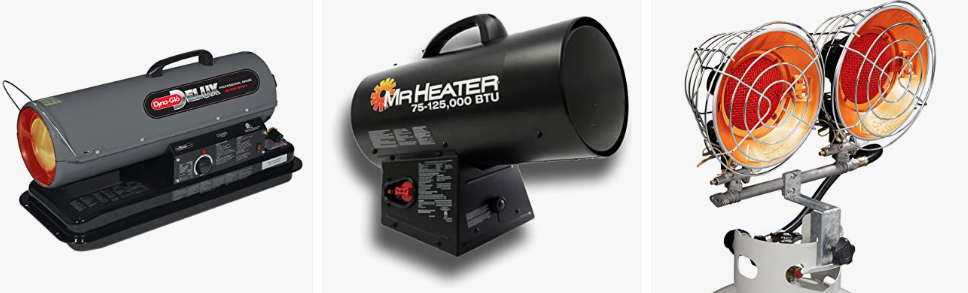
A healthy attic in winter should be close to the outdoor temperature. If yours feels warm, that is a finding, not a tool. Extension’s long-term fix is to air-seal the ceiling first (gaps around light fixtures, the attic hatch, plumbing and wiring holes), then add insulation. Maine’s emergency agency also warns against putting electric heaters or open flames on or near a roof to melt snow.

Spraying water on roof snow to “slide it off” mostly makes things worse. Snow soaks up water like a sponge, so you add weight to the roof before anything slides. Whatever doesn’t run off freezes overnight into ice, and one inch of ice weighs about as much as a foot of fresh snow (Maine Emergency Management Agency).
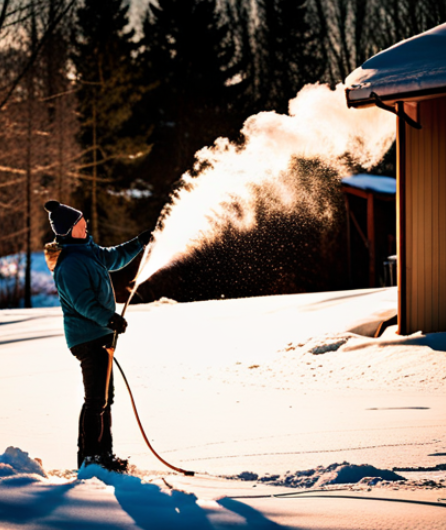
There is one narrow use. If an ice dam is already pushing water into the house, the University of Minnesota says you can hose a channel through the dam with tap water on a warm day so the trapped water drains. It’s a stopgap: the channel stops working within days. Do it from the ground, and aim the runoff away from walkways where it will freeze.
Once the bottom few feet are raked, use the pole or a soft broom from the ground to brush off what’s left near the edge. Don’t chip at ice with the rake or a hammer; you’ll break shingles and gutters faster than the ice will.
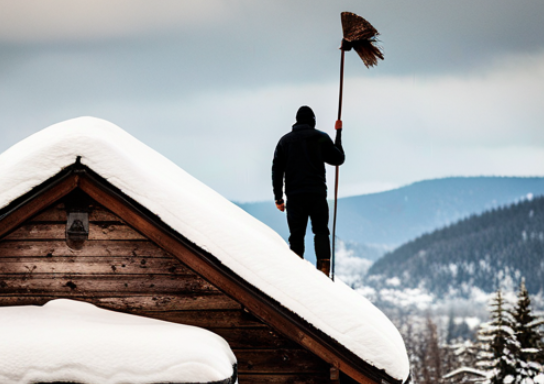
Mark anything odd in your photos so you can find it again when the snow is gone, or show it to a roofer.
The attic shows what the roof deck is doing from the underside, and in winter it’s the safest place to look. Take a bright flashlight, wear a dust mask and gloves, and step only on joists or a floored walkway. Ceiling drywall won’t hold you.

A pin-type moisture meter, sold at most hardware stores, tells you whether a dark spot on the wood is wet now or an old, dry stain.
The pattern you saw on the roof outside should match what you find in the attic. A bare stripe over the bathroom usually leads you to a bath fan venting into the attic or an unsealed fan housing. A bare ring around the chimney points to a gap in the air seal there.
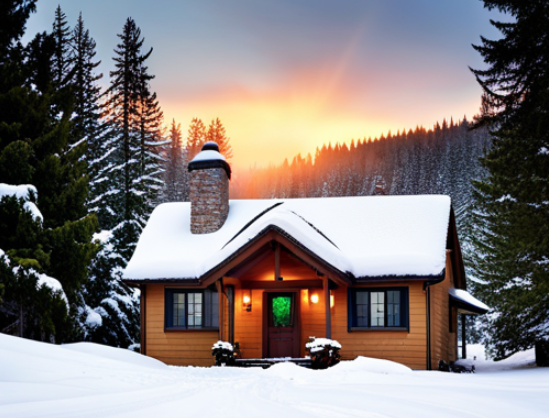
A thermal camera makes this faster. Clip-on phone cameras such as the FLIR ONE Edge sell for around $300 (as of October 2026). Scan the ceiling from inside on a cold night with the heat on: cold patches show where insulation is missing, and from the attic, warm streaks show where house air is leaking up. Winter is the best season to do this, because the inside-to-outside temperature gap is large.

No camera? The snow already did the work. Match your morning-after photos to what you see above the ceiling.
FEMA’s Snow Load Safety Guide (P-957) puts a foot of fresh snow at anywhere from about 3 pounds per square foot (light and dry) to 21 pounds (wet and heavy). Maine’s emergency management agency says a typical roof handles about 20 pounds per square foot. Homes in snowy mountain areas are often built for more and mild-climate homes for less, so ask your local building department what design load applies where you live.
Rough rules of thumb from the Maine Emergency Management Agency:
So two feet of old, settled snow with a layer of ice can be past 20 pounds while a fluffy two feet is nowhere near it. Flat and low-slope roofs are at the most risk, as are drifts.
Signs the roof is overloaded, according to Maine’s emergency agency:
If you see these, get everyone out of that part of the house and call a roofer or structural engineer. Don’t go up to shovel it yourself.
For the rest of the house, see our DIY home inspection guides.
Mice need a gap about 1/4 inch wide. Here's where to look outside and inside, what to seal each gap with, and how to clean up droppings safely.
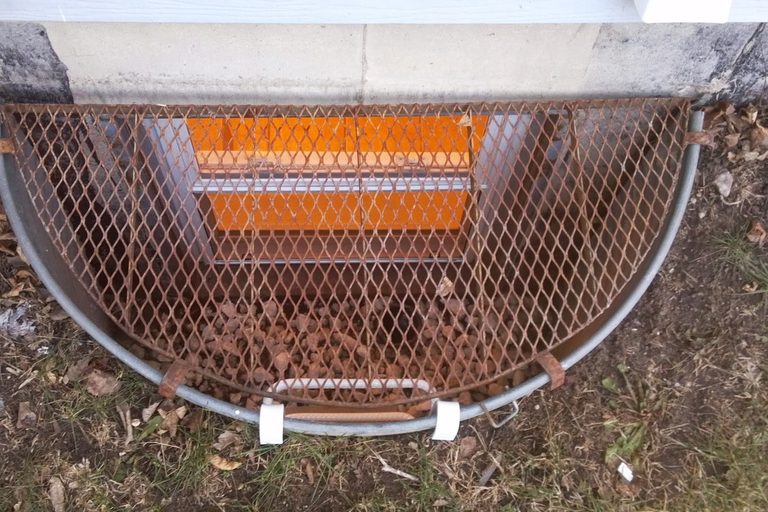
Basement window wells flood, collect leaves, trap animals, and sometimes are the only way out in a fire. How to check the well, the drain and the cover, and what makes a…
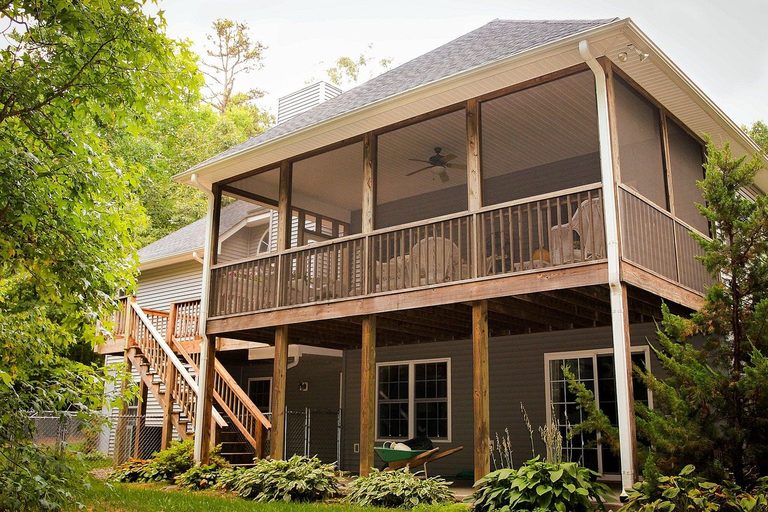
Snow adds weight to a deck that's been baking and soaking all year. How to check the ledger board, flashing, posts, fasteners, railings and stairs in an afternoon, and the warning signs…