Inspection FAQ
Credit or repairs. What buyers are asking for after the report
Compare a repair credit, completed repairs, and a price cut after a home inspection, with loan limits and how to get terms in writing.

Learn how to protect your home with a DIY home inspection checklist. Identify issues early, save money, and keep your family safe. Read now!
A DIY home inspection is a slow walk around and through your house with a flashlight, looking for water, damage, and things that don’t work. Do the outside first, then the systems (electrical, plumbing, heating and cooling), then each room. Budget about two hours the first time and under an hour after that. You’re not replacing a professional inspector. You’re catching the small stuff while it’s still small, and knowing when to call one.
Here’s the route, with what to look for at each stop.
The photos are the most useful part. Next year you’ll compare them and see whether that crack grew or that stain spread.

Most damage in a house starts as water somewhere it shouldn’t be. A drip under a sink, a clogged gutter, or a cracked shingle costs little to fix the month it starts. Left for a year, it turns into rotted subfloor, mold, or a stained ceiling. You live in the house every day, so you’re the one who can notice when something changes.
It also makes you a better customer. When you do call a roofer or a plumber, you can tell them exactly what you saw and when, and you’ll know if the fix they quote matches the problem.
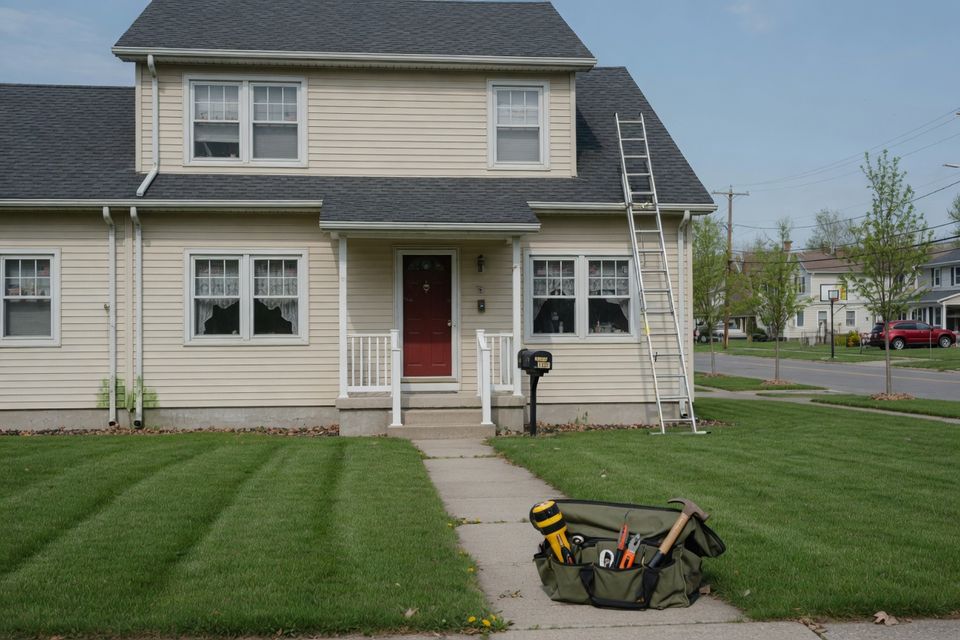
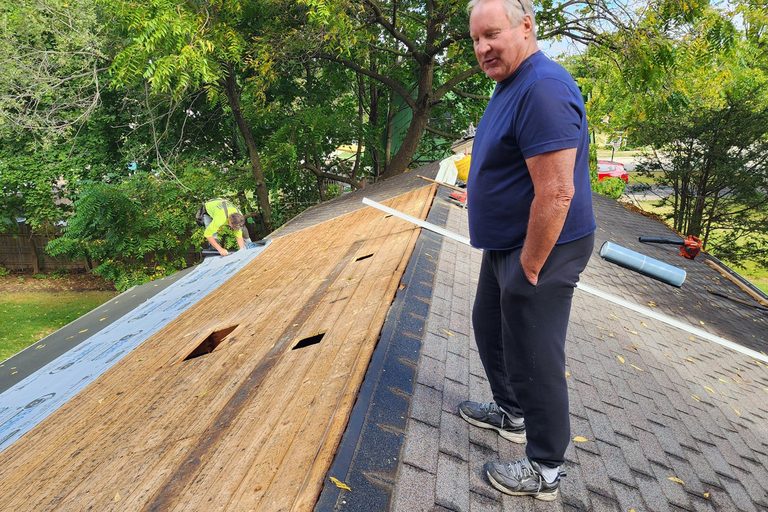
Stand back far enough to see the whole roof, then go over it with binoculars. Look for missing, curled, or cracked shingles, bare patches where the granules have washed off, and any dip in the ridge line or roof deck. Check the metal flashing around the chimney, vent pipes, and skylights for gaps or lifted edges. Those joints leak far more often than the shingles themselves.
A pile of shingle granules at the bottom of a downspout means the roof is wearing out.
Watch the gutters during a hard rain if you can. Water spilling over the front means they’re clogged or pitched wrong. Water shooting past them off a steep roof is a different problem with its own fixes. Otherwise, look for sagging runs, loose hangers, rust spots, leaking seams, and end caps that have pulled loose.
Every downspout should dump water well away from the house, not right against the foundation.
Walk the perimeter and look at every foot of exposed foundation. Thin vertical hairline cracks are common in poured concrete. Pay closer attention to cracks you can fit a coin into, cracks wider at one end than the other, stair-step cracks in block or brick, and any wall that bows inward.
White, chalky crust on concrete or brick (efflorescence) means water is moving through the wall. It’s not damage by itself, but it tells you where the water is getting in. On siding, look for soft or rotted spots, gaps at corners and trim, and loose or crumbling mortar in brick.
The ground should slope away from the house. Building code for new homes calls for the grade to fall at least 6 inches in the first 10 feet. If your soil, mulch, or flower beds slope toward the foundation, rain runs straight to it. Keep mulch and soil a few inches below the bottom of the siding, too, so the wood isn’t sitting against wet dirt.
Press a fingernail into the wood on sills and the bottom of frames. If it sinks in, that’s rot. Look for cracked or missing caulk, foggy double-pane glass (a failed seal), and locks that don’t latch. Close each exterior door and look for daylight around the edges. On a windy day, a lit incense stick held near the frame shows you exactly where air is getting in.
Look up at the trees. Dead limbs over the roof, the driveway, or power lines are worth calling an arborist about before a storm brings them down. Check walks, driveways, and patios for heaved slabs and trip edges.
Retaining walls, garden bed edging, and outdoor steps made of wood rot from the ground up, so push on the lowest boards and posts with a screwdriver. If it slides in easily, the wood is soft. Look for mud tubes about as wide as a pencil running up the foundation. That’s a sign of subterranean termites and a reason to call a pest pro.
This part is look-only. Don’t take the cover off the panel. Look at the outside of the panel for rust, scorch marks, or a buzzing sound. Walk the house and note any outlet or switch plate that’s warm, discolored, or cracked, and any light that flickers when nothing else is changing.
Plug the outlet tester into every outlet you can reach. It will tell you about open grounds and reversed wiring in a few seconds each. Push the test button on every GFCI outlet (kitchen, bathrooms, garage, outdoors, basement) and make sure it cuts power, then reset it. The Consumer Product Safety Commission recommends doing that monthly.
Call an electrician if breakers trip often, you smell hot plastic, outlets are warm, or you see scorch marks anywhere.
Open every sink cabinet with a flashlight. Look for drips at the fittings, water stains or swelling on the cabinet floor, and green or white crust on valves and connections. Run each faucet and look for leaks around the handles and base.
Flush every toilet and listen. A toilet that keeps hissing or refilling on its own after it’s done is leaking through the flapper. Rock each toilet gently. If it moves, the seal at the floor may be failing. Turn on the tub and a sink at the same time and see if the pressure drops sharply.
Check the water heater for rust or water on the floor around its base. A musty smell near a drain or under a sink means water has been sitting somewhere for a while.
Pull the furnace filter and hold it up to a light. If you can’t see light through it, replace it. ENERGY STAR says to check the filter monthly and change it at least every three months.
Look at the furnace for rust, soot around the burner area, and water on the floor. Follow the ducts you can see in the basement or attic for disconnected joints and torn tape. Walk each room with the system running and make sure every vent blows and isn’t blocked by furniture or rugs. Outside, clear leaves and weeds from around the AC unit.
Pull the washing machine out a few inches and check the supply hoses for bulges, cracks, or rust at the fittings. A burst washer hose can put a lot of water on the floor fast. Look under and around the dishwasher for water stains, and check the refrigerator door gasket by closing it on a dollar bill. If the bill slides out easily, the seal is worn.
For gas stoves, dryers, and water heaters: if you ever smell gas, leave the house and call your gas utility from outside. Don’t hunt for the leak yourself.
Look at the ceilings first. Brown rings or yellow stains mean water came through from above, often from a roof leak, a bathroom, or condensation in the attic. Check walls for cracks running from the corners of doors and windows, and floors for soft spots or slopes. Test every window: does it open, close, and lock?
Run the range hood and make sure it actually pulls air (a tissue held near it should stick). Clean or replace the hood filter if it’s greasy. Check under the sink with the faucet and dishwasher both running. Look at the caulk where the countertop meets the backsplash and around the sink, since gaps there let water into the cabinets below.
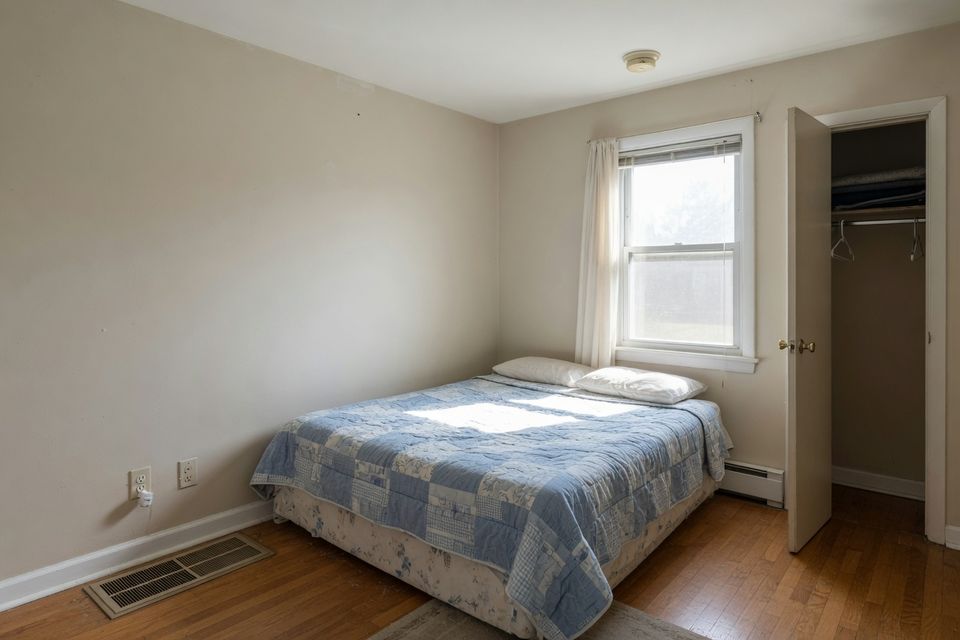
NFPA calls for a smoke alarm inside every bedroom, outside each sleeping area, and on every level. Press the test button on each one. Turn on ceiling fans and lights. Make sure each bedroom window opens fully, since it may be the way out in a fire.
Bathrooms get more water than any other room, so they hide the most damage. Press on the floor around the toilet and tub. Soft or spongy floor means rot below. Look for cracked grout and gaps in the caulk around the tub and shower, and for peeling paint or black spots on the ceiling.
Run the exhaust fan and hold a square of toilet paper up to the grille. If it doesn’t hold the paper, the fan isn’t moving enough air to clear steam. Test the GFCI outlets here too, and tug on towel bars and grab bars to make sure they’re anchored.
The one habit that matters most: take dated photos every time. A crack you photographed last year is the only way to know whether it’s growing.
Compare a repair credit, completed repairs, and a price cut after a home inspection, with loan limits and how to get terms in writing.
Learn why an inspection report is not a repair list, how to sort findings into repair, monitor, and evaluate, and make a focused request.
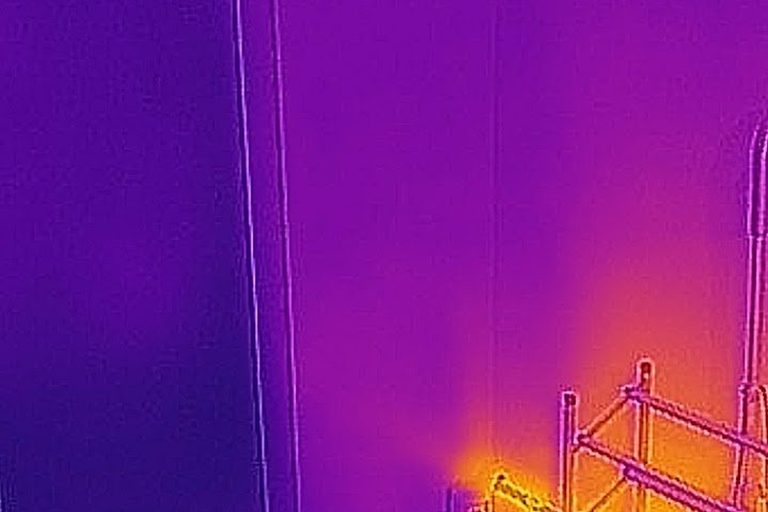
A thermal camera flags possible moisture, missing insulation, air leaks and hot wiring. Learn what a scan can and can't confirm, and what it costs.